Paper of your choice- I am using Paper 6 from Lacarolita's Designz Scrap Kit Cupid which can be downloaded HERE
Font of Choice- I am using Kinkee which can be downloaded for free HERE
Glitter of your choice- I am using a light Silver which can be downloaded HERE
To install the Glitter into your PSP: Open up Animation Shop, open the glitter, it will split into 3 parts. Hold ctrl and press a or go to Edit/Select All! Go to File/Save Frames as and save them in your Pattern folder that is located in your PSP File folder that is usually in your Documents folder!
"If you need any further assistance with this, you may email me at ocelotlicious@hotmail.com"
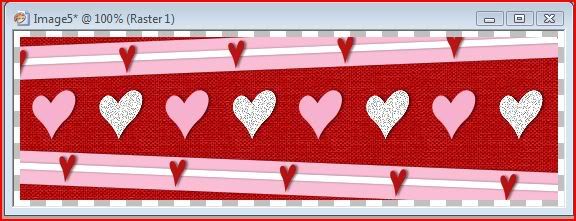
Step 1: Siggy- Open up PSP and open a new image. Size- 550 x 175
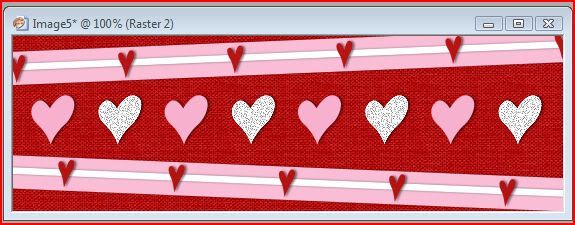
Step 2: Open up the paper of your choice. Copy it and paste as a new layer in the New image!
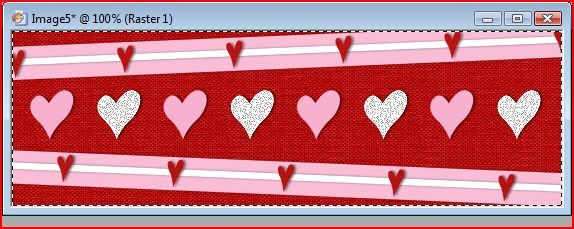
Step 3: Make sure Raster 1 is highlighted in the Layers Box.
Hold ctrl and press A.
You should have ants around your box...
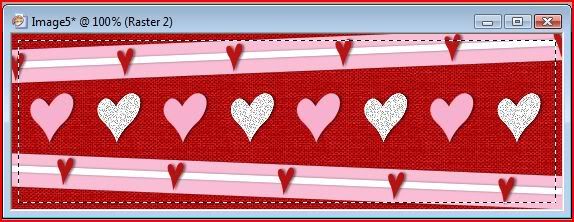
Step 4: Highlight Raster 2 in the layers box. Click Selections/Modify/Contract "located on your menu bar"
Set the number to 6 and click ok!
Your ants should have moved inward.
Right Click on Raster 2 and click on Promote Selection to layer!
Now delete Raster 2
Hold ctrl and press D
Ants should have disappeared
Right click on Promoted Selection and rename to Paper. You do not have to do this but it's easier to keep up with what is what!
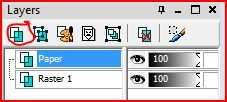
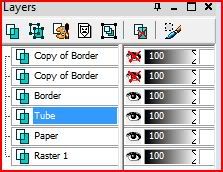
Step 5: Make a new layer by clicking the button that is circled in the pic below!
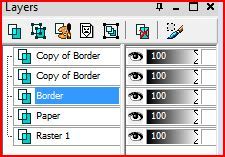
Name it Border
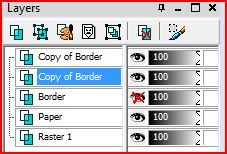
Right click on Border and Duplicate 2 times!
Step 6: Select the wand tool
Make sure the paper is Highlighted.
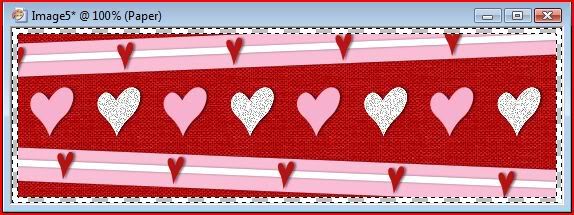
Take the wand and click on the transparent part around the paper.
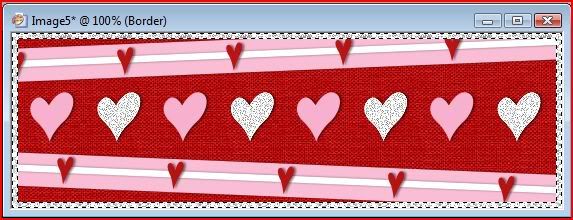
You should have Parallel ants going around the paper.
Now highlight Border!
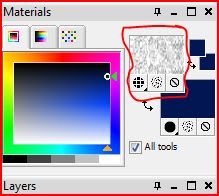
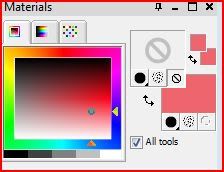
Step 7: Go to the Materials Box above the layers box and click on the top color box which is called the foreground!
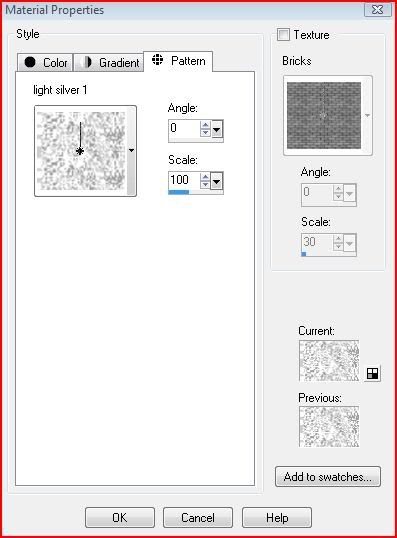
It should have come up something like this:
Select Patterns like in the Picture above.
Select a glitter Pattern of choice or the one I provided for use!
Step 8: Select the bucket fill
Click inside the ants and it should fill with Glitter
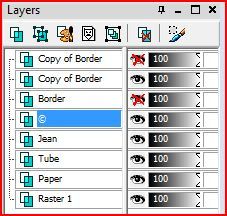
Step 9: x out Border and highlight Copy of Border
Step 10: Repeat Steps 7-9 until all Borders are filled with Glitter. Make sure you select a different glitter every time you fill or it will not move.
Step 11: Hold ctrl and hit D
ants should be gone!
Step 12: Copy and paste tube of your choice as a new layer. Make sure the tube is listed under the Borders and above the Paper.
Step 13: Put the tube where you want it. I used the close up tube and downsized it a little with the Raster Deform Tool.
Step 14: Select the Text Tool
Click the spot you would like to place the text and type the name of choice in the box that pops up!
Step 15: Pick a font or use the one I am using.
Size font I am using is 75
Color I am using is #ee656e
I am only using the bottom color box, the top one is crossed out!
Step 16: Right click on Vector and convert to raster layer.
Rename it to text or the name you used.
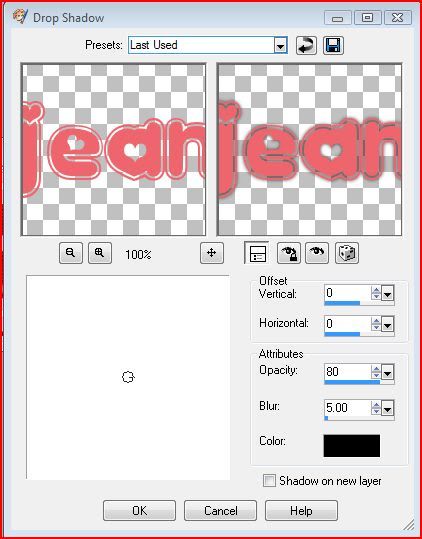
Step 17: I am making my name stand out by using a Drop Shadow!
Effects/3D Effects/Drop Shadow "located on the Menu Bar"
Settings should be like mine:
Do a Drop Shadow 2 more times but instead of 0/0 use 2/2 one time and -2/-2 the second time!
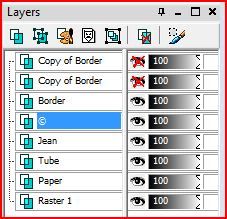
Step 18: Add your copyright!
I use Arial Font size 8
bottom color box black and top box crossed out!
"your choice on how you do this, just make sure it is readable!"
Step 19: Putting the Siggy Together!
X out both copy of border
Edit/ Copy Merged
open up Animation shop
Edit/ Paste as new animation
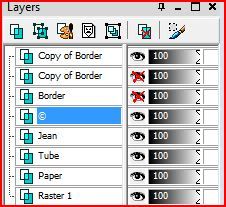
Go back to PSP and X out Border and Un X out the first Copy of Border
Edit/Copy Merged
Go to Animation Shop
Edit/ Paste after current frame
Back to PSP
X out the first Copy of Border and Un X out the second copy of Border
Edit/ Copy Merged
Go to Animation Shop
Edit/ Paste after current frame
You can view your Animation by going to View/ Animation
You can now Save it and upload it to your photobucket, tiny pic, etc...
Step 20: Avatar- Open up PSP and open a new image. Size- 150 x 150
Do the same steps from before! Steps 2-12
I used the regular tube this time!
Step 21: Add the text, you will have to play with the size due to it being smaller. If the name is too long, you might have to just put initials!
I used the same font and size 35!
Do the same as Step 17 but instead of 2/2 and -2/-2 use 1/1 and -1/-1!
Step 22: Add the Copyright and put it together the same as Step 19!
Thanks for trying this Tut! I would love to see the one you made!
I hope you enjoyed and was fairly easy to you! :)
Big HUGS!!
~Jean!~






No comments:
Post a Comment